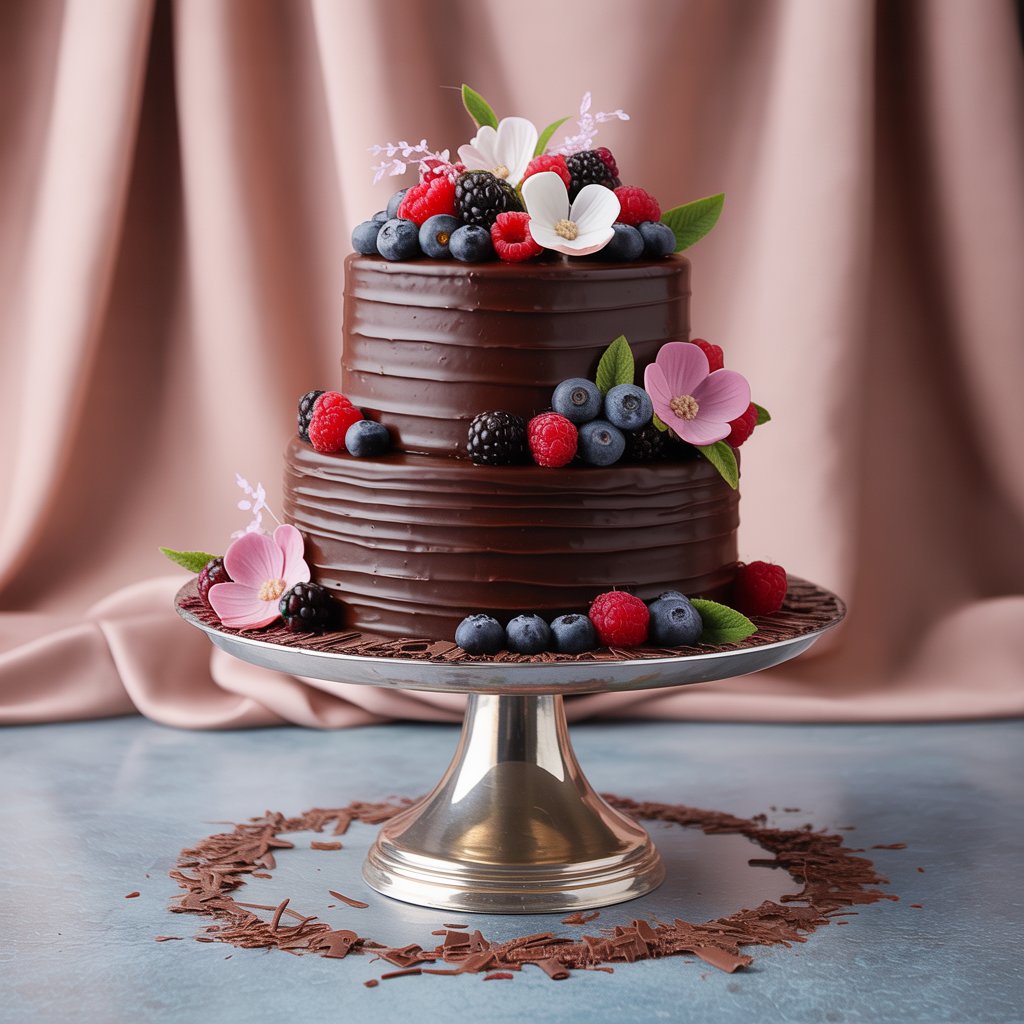
Pineapple Heaven Cake – A No-Bake Summer Favorite2025
Imagine a dessert that brings the tropics to your table, with the perfect balance of sweetness, tang, and creamy indulgence—without even turning on your oven. Welcome to Pineapple Heaven Cake, a no-bake dessert layered with juicy pineapple, silky whipped topping, and a buttery graham cracker crust. It’s vibrant, flavorful, and incredibly easy to prepare.
Whether you’re hosting a summer barbecue, a birthday party, a family get-together, or just want something sweet without the fuss, this cake is your go-to crowd-pleaser.
2. Why You’ll Love This Dessert
Let’s be honest—some desserts are beautiful but bland. Others are rich but time-consuming. Pineapple Heaven Cake manages to be fast, fresh, flavorful, and absolutely stunning all in one.
Here’s why people keep coming back for seconds:
- ✅ No oven required – stays cool even on the hottest days
- ✅ Quick to assemble – done in under 30 minutes (plus chill time)
- ✅ Tropical flavor profile – pineapple + cherry = instant summer
- ✅ Family-friendly and kid-approved
- ✅ Easy to make ahead for parties
- ✅ Customizable – adjust the toppings, crust, or cream layers
This recipe works beautifully for both beginners and seasoned bakers. If you can mix and layer, you can master this dessert!
3. Ingredients Breakdown and Substitutions
Let’s walk through each ingredient to understand its role and possible alternatives:
🧁 For the Crust:
- 2 cups graham cracker crumbs
You can crush whole graham crackers in a food processor or use pre-made crumbs. - ½ cup melted butter (unsalted)
Adds richness and helps bind the crust. Margarine or plant-based butter can be used too.
🍍 For the Filling:
- 1 (8 oz) block cream cheese, softened
Creates a tangy and creamy base layer. Full-fat is best for flavor and texture. - 1 cup powdered sugar
Sweetens the filling without making it gritty. Avoid granulated sugar. - 1 teaspoon pure vanilla extract
Adds depth to the creamy base. - 2 cups whipped topping (like Cool Whip)
Makes the mixture airy and smooth. You can use homemade whipped cream if desired.
🍒 For the Fruit Layers:
- 2 cups crushed pineapple (well drained)
Provides that tropical punch. Fresh or canned both work—just remove excess liquid. - 1 cup pineapple chunks
Adds texture and visual appeal. Optional but recommended. - 1 cup maraschino cherries
A pop of color and sweetness. Can substitute with sliced strawberries or kiwi for a twist.
4. Step-by-Step Instructions
🔹 Step 1: Prepare the Crust
- In a medium mixing bowl, combine graham cracker crumbs and melted butter.
- Mix thoroughly until the texture resembles wet sand.
- Press evenly into a 9×13-inch baking dish lined with parchment or lightly greased.
- Place the crust in the refrigerator for 15 minutes to firm up.
Tip: Use the bottom of a glass or measuring cup to press down the crust tightly for an even layer.
🔹 Step 2: Make the Creamy Filling
- In a large mixing bowl, beat the softened cream cheese until smooth and lump-free.
- Add in the powdered sugar and vanilla extract, and mix until fully combined.
- Gently fold in the whipped topping using a spatula. The texture should be light, fluffy, and smooth.
Avoid overmixing at this stage—overworking can deflate the whipped topping.
🔹 Step 3: Assemble the Cake
- Spread half of the cream mixture over the chilled crust.
- Evenly layer the drained crushed pineapple across the top.
- Spread the remaining cream cheese mixture gently on top of the pineapple layer.
Optional: Chill each layer for 10 minutes to help set the layers more cleanly.
🔹 Step 4: Add the Final Toppings
- Sprinkle pineapple chunks across the surface.
- Dot the cake with maraschino cherries, pressing them in slightly so they don’t roll off.
- Add toasted coconut flakes or white chocolate curls for extra flair (optional).
🔹 Step 5: Chill and Slice
- Cover the dish with foil or plastic wrap.
- Chill in the refrigerator for at least 4 hours, preferably overnight.
- Slice into squares with a sharp knife (clean the knife between cuts for best presentation).
5. Expert Tips for the Best Results
- Drain Pineapple Thoroughly: Excess moisture can ruin the texture of the cake. Use a fine mesh strainer or press gently with paper towels.
- Let Cream Cheese Soften: Cold cream cheese is hard to mix and causes lumps. Leave it at room temperature for 30 minutes before using.
- Use Cold Whipped Topping: This keeps the filling fluffy and helps it set properly.
- Chill Long Enough: If it doesn’t chill for at least 4 hours, the layers may collapse when sliced.
- Serve with a Spoonful of Extra Pineapple Juice (optional): Drizzle just before serving for more moisture.
6. Variations to Try
Want to customize this tropical dessert? Here are some exciting twists:
- 🌺 Coconut Cream Version: Mix coconut cream into the filling or add a coconut-flavored crust.
- 🍌 Banana Split Version: Add sliced bananas and crushed nuts between the layers.
- 🍓 Berry Bliss: Swap cherries for strawberries or raspberries.
- 🍫 Chocolate Drizzle: Finish with a drizzle of white or dark chocolate for a decadent touch.
- 🍪 Cookie Crust Alternative: Use crushed Oreos, Nilla Wafers, or shortbread instead of graham crackers.
7. How to Store and Serve
🔹 Refrigeration
- Store leftovers in an airtight container in the refrigerator for up to 5 days.
- Keep away from heat and avoid leaving out for extended periods.
🔹 Freezing
- Wrap the entire dish in plastic wrap, then cover with foil.
- Freeze for up to 2 months. Thaw in the fridge overnight before serving.
🔹 Serving Suggestions
- Serve with a sprig of mint, a slice of lime, or a dollop of whipped cream.
- Great alongside iced tea, tropical cocktails, or fruity sangria.
8. Nutrition Facts (Per Serving – based on 12 servings)
| Nutrient | Amount |
|---|---|
| Calories | 320 |
| Total Fat | 16g |
| Saturated Fat | 9g |
| Carbohydrates | 42g |
| Sugars | 30g |
| Protein | 3g |
| Cholesterol | 40mg |
| Sodium | 180mg |
| Fiber | 1g |
Note: These values are estimates and may vary based on brand and ingredients used.
9. Frequently Asked Questions (FAQs)
Q1: Can I use fresh pineapple instead of canned?
Yes! Just chop it finely and drain well to avoid excess moisture.
Q2: Is this cake vegetarian-friendly?
Yes, as long as the whipped topping is gelatin-free.
Q3: Can I make this dessert the night before?
Absolutely. In fact, it tastes even better the next day.
Q4: What’s the best way to cut clean slices?
Use a sharp, hot knife and clean between each cut with a paper towel.
Q5: Can I make it in individual cups or jars?
Yes, it makes a great layered parfait for parties and events.
Q6: Can I skip the cream cheese?
You can substitute mascarpone or a mixture of yogurt and whipped cream, but texture and flavor will differ.
10. Final Thoughts
Pineapple Heaven Cake is more than a dessert—it’s a slice of sunshine, perfect for any occasion. With its luscious layers, vibrant tropical flavors, and easy no-bake process, it’s a foolproof favorite that both beginners and experienced bakers can enjoy. Whether you’re preparing it for a weekend cookout, birthday party, or simply as a treat for yourself, this dessert never fails to impress.
📌 Save This Recipe on Pinterest!
Want to come back to it later? Pin it now and share it with friends!
Try it once—and you’ll never bring a boring dessert to the party again.


