Perfect Lion House Rolls – A Homemade Classic for Every Table 2025
Table of Contents
- Introduction: Why Lion House Rolls Are Famous
- The History Behind the Rolls
- What Makes These Rolls Unique?
- Ingredients: Quality That Makes a Difference
- Tools You’ll Need
- Step-by-Step Instructions
- Tips for Perfect Rolls Every Time
- Recipe Variations & Customizations
- How to Make These Ahead of Time
- How to Store, Freeze, and Reheat
- What to Serve With Lion House Rolls
- Frequently Asked Questions (FAQ)
- Nutrition Info & Health Tips
- Final Thoughts: A Family Tradition Worth Keeping
- Printable Recipe Card
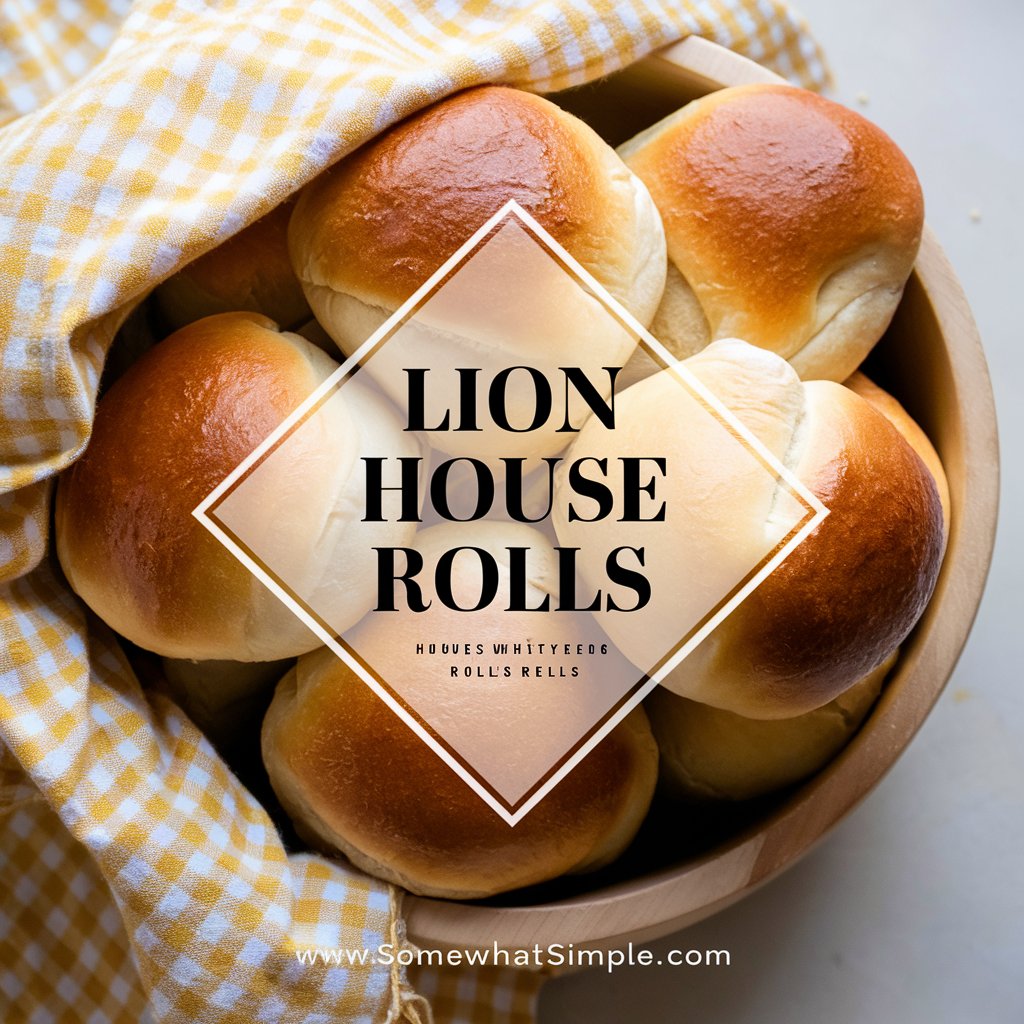
1. Introduction: Why Lion House Dinner Rolls Deserve a Spot on Your Table
Soft, fluffy, golden, and brushed with melted butter straight from the oven—there’s a reason Lion House Dinner Rolls have become an iconic part of American home cooking. Whether it’s a Thanksgiving feast, a Sunday roast, or a quiet dinner at home, these dinner rolls bring the warmth of tradition and the comfort of scratch-made baking to any meal.
In this article, you’ll learn not only how to recreate this timeless recipe in your own kitchen, but also why it continues to win hearts generation after generation.
2. The History Behind the Rolls
The Lion House is a historic residence in Salt Lake City, Utah, originally built in 1856. Today, it serves as a culinary institution known for comforting, home-style cooking rooted in pioneer tradition. Among its most beloved creations is the famous Lion House Roll—known for its distinct shape, incredible softness, and rich buttery taste.
What started as a local specialty has now become a national favorite, shared at potlucks, holidays, and dinner tables everywhere.
3. What Makes These Rolls Unique?
Unlike many quick dinner roll recipes, Lion House Rolls rise high, develop a delicately golden crust, and pull apart in beautiful layers. Their flavor is mild but rich, and the interior is airy, almost like cotton.
Key features:
- Unique rolled shape that allows beautiful layer separation
- Light and fluffy texture with a golden buttery top
- Easy to make ahead, freeze, or prep for a crowd
- Beloved by both beginner bakers and seasoned pros
4. Ingredients: Quality That Makes a Difference
Before you begin, gather these pantry staples. Simple ingredients make these rolls shine.
Ingredients List (For 24 Rolls)
- 2 cups warm water (about 110°F)
- ⅔ cup nonfat dry milk (instant or non-instant)
- 2 tablespoons dry yeast (active or instant)
- ¼ cup granulated sugar
- 2 teaspoons salt
- ⅓ cup unsalted butter, softened
- 1 large egg
- 5 to 5½ cups all-purpose flour
- Additional melted butter (for brushing after baking)
Why These Ingredients Work
- Dry milk adds richness and a soft crumb.
- Butter provides tenderness and flavor.
- Egg helps bind and enrich the dough.
- Yeast creates lift and airiness.
You can substitute or customize many ingredients—scroll down to see how.
5. Tools You’ll Need
Here’s what you’ll need to get the best results:
- Large mixing bowl (or stand mixer with dough hook)
- Dough scraper or spatula
- Measuring cups and spoons
- Rolling pin
- Sharp knife or bench scraper
- 9×13” greased baking pan
- Clean towel or plastic wrap (for rising)
- Pastry brush
Having your tools prepped makes the process smooth and enjoyable.
6. Step-by-Step Instructions
Follow these directions carefully for pillowy-soft rolls that never fail.
Step 1: Activate the Yeast
Mix the warm water and dry milk powder until fully dissolved. Add yeast and let it sit for about 5 minutes. Bubbles and foam will appear—this means your yeast is alive and working.
Step 2: Add Wet Ingredients and Begin Mixing
Stir in the sugar, salt, softened butter, and egg. Mix until all ingredients are well combined and smooth.
Step 3: Gradually Add Flour
Start with 2 cups of flour and beat well. Continue adding flour, ½ cup at a time, until the dough pulls away from the sides of the bowl. The dough should be soft but not overly sticky.
Step 4: Knead the Dough
Knead the dough for 5–7 minutes, either by hand on a floured surface or with a mixer and dough hook. A well-kneaded dough will be smooth, elastic, and springy when touched.
Step 5: First Rise
Place dough in a greased bowl. Cover with a towel or plastic wrap. Let it rise in a warm area for 60–75 minutes until doubled in size.
Step 6: Shape the Rolls
Punch down the dough gently. Roll it into a large rectangle about ¼-inch thick. Slice into strips about 2×4 inches. Roll each piece into a spiral and place it seam-side down on a greased baking sheet.
Step 7: Second Rise
Cover the rolls and allow them to rise again for 30–45 minutes. They should look puffy and slightly touching.
Step 8: Bake
Preheat the oven to 375°F (190°C). Bake the rolls for 15–18 minutes, or until golden brown on top.
Step 9: Butter and Serve
Remove from oven and brush generously with melted butter while warm. Let them rest for 5 minutes, then serve and enjoy.
7. Tips for Perfect Rolls Every Time
- Use fresh yeast—expired yeast won’t rise well.
- Let dough rise in a draft-free, warm space like an off oven with the light on.
- Don’t over-knead or over-flour; both will create dense rolls.
- Shape rolls evenly so they cook at the same rate.
- Brush with melted butter right out of the oven for that signature finish.
8. Recipe Variations & Customizations
Want to make it your own? Here are some twists:
- Cheese Rolls: Add shredded cheddar before rolling dough.
- Garlic Herb Rolls: Mix minced garlic and parsley into the butter for brushing.
- Sweet Rolls: Add cinnamon sugar before rolling to create a swirl.
Dietary Options
- Dairy-Free: Use oat milk powder and vegan butter.
- Whole Wheat: Use 50% whole wheat flour for added fiber.
- Egg-Free: Use 1 tablespoon flaxseed mixed with 3 tablespoons water.