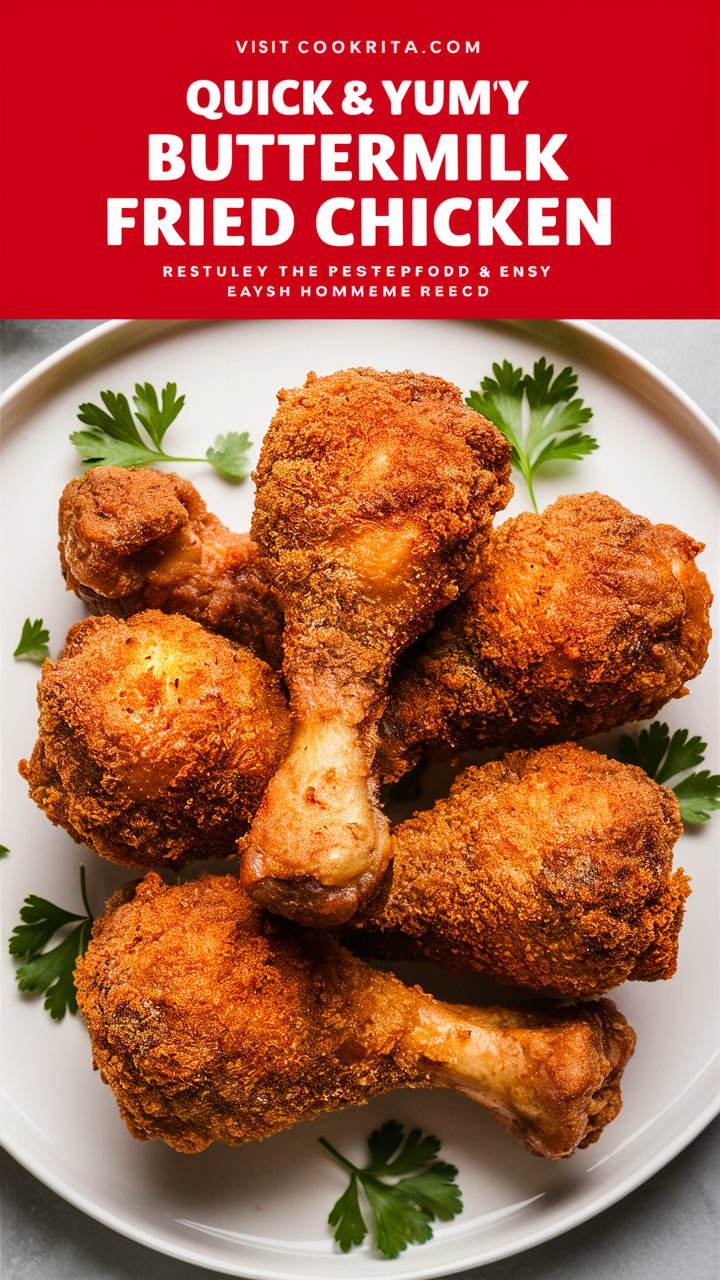
Perfect Buttermilk Oven Fried Chicken: Crispy Coating Without Deep Frying 2025
When it comes to comfort food, few dishes can match the nostalgic, irresistible appeal of fried chicken. The golden crust, the tender, juicy meat inside, and that perfect blend of spices and crunch make it a favorite across generations and cultures. However, traditional deep-fried chicken, while delicious, is often associated with heavy grease and lengthy cleanup. This is where Buttermilk Oven Fried Chicken steps in—a healthier, equally flavorful alternative that brings the beloved Southern classic right into your oven without sacrificing taste or texture.
In this comprehensive guide, you will learn everything about making the perfect Buttermilk Oven Fried Chicken—from selecting the right chicken cuts and preparing a flavorful buttermilk marinade to achieving an ultra-crispy crust baked to golden perfection. Additionally, you will discover tips to customize the recipe for dietary needs, variations for adventurous palates, and expert advice to avoid common pitfalls.
The History and Charm of Buttermilk Fried Chicken
Before diving into the recipe, it’s worth exploring why buttermilk fried chicken holds such an iconic place in culinary traditions.
Buttermilk, a byproduct of butter-making, has been used for centuries as a marinade to tenderize and flavor meat, particularly poultry. The acidity in buttermilk gently breaks down proteins in the chicken, resulting in succulent, juicy meat after cooking. Combining this with the traditional Southern spice blend and a crunchy coating gives rise to a dish celebrated for its balance of flavors and textures.
The Southern United States popularized this style, where frying chicken was often reserved for special occasions or Sunday family dinners. Oven-baked versions emerged as a way to enjoy the same comforting flavors with less oil, aligning well with modern preferences for healthier eating.
Why Choose Oven-Fried Chicken?
Many home cooks hesitate to make fried chicken due to the mess, cost of oil, and health concerns linked to deep frying. Oven-fried chicken provides several advantages:
- Healthier: Less oil means fewer calories and less fat.
- Less Messy: No splattering oil or bulky fryer cleanup.
- Even Cooking: Baking ensures chicken cooks thoroughly and evenly.
- Convenient: Easy to prepare and can be cooked alongside sides.
- Customizable: Allows for gluten-free or low-carb variations.
Essential Ingredients and Their Roles
To master Buttermilk Oven Fried Chicken, understanding the ingredients helps optimize taste and texture.
1. Chicken Cuts
- Bone-in, skin-on thighs are ideal for juicy, flavorful results.
- Alternatives: Drumsticks, breasts, or wings, but cooking times vary.
- Skin-on helps the coating stick and crisps up nicely.
2. Buttermilk
- Provides tangy flavor and tenderizes the meat.
- The acidity breaks down muscle fibers, improving juiciness.
- If unavailable, homemade substitute (milk + lemon juice or vinegar) works well.
3. Seasonings & Spices
- Garlic powder, onion powder, paprika form a savory, aromatic base.
- Cayenne pepper adds optional heat.
- Salt and pepper balance and enhance all flavors.
4. Coating Components
- Crushed cornflakes or panko breadcrumbs create the crispy crust.
- A mixture with all-purpose flour helps the crust bind to the chicken.
- Panko gives a lighter, crunchier texture; cornflakes add a unique golden crunch.
5. Fat for Crisping
- Drizzling olive oil or melted butter before baking helps the coating brown.
- Cooking spray is a lower-fat option but may not brown as intensely.
Equipment Needed
- Large bowl or zip-top bag for marinating.
- Baking dish or rimmed sheet pan.
- Oven preheated to 400°F (200°C).
- Meat thermometer (highly recommended for safety).
Step-By-Step Recipe for Perfect Buttermilk Oven Fried Chicken
Step 1: Marinate the Chicken
Place chicken pieces in a large bowl or zip-top bag. Pour over the buttermilk and add garlic powder, onion powder, paprika, cayenne pepper (if desired), salt, and pepper. Toss gently until the chicken is fully coated.
Tip: Refrigerate for at least 4 hours, ideally overnight. The longer marination allows flavors to deeply penetrate and tenderizes the meat for maximum juiciness.
Step 2: Prepare the Coating
In a shallow dish, combine crushed cornflakes or panko breadcrumbs with the flour. Add a pinch of salt and pepper, and stir to blend evenly.
Step 3: Coat the Chicken
Remove chicken from the marinade, letting excess buttermilk drip off. Press each piece firmly into the coating mixture, ensuring all surfaces are well covered. For an ultra-crispy crust, dip back briefly into the buttermilk and then again into the coating for a double layer.
Step 4: Arrange and Oil
Place the coated chicken on a greased baking dish or on parchment-lined sheet pan, skin side up. Lightly drizzle olive oil or melted butter over each piece, or spray lightly with cooking spray.
Step 5: Bake to Golden Perfection
Bake in the preheated oven for 40–45 minutes. The coating should turn a deep golden brown, and the internal temperature of the chicken must reach 165°F (74°C) for safe consumption.
Pro tip: For extra crunch, broil the chicken for 2–3 minutes at the end. Watch closely to avoid burning.
Troubleshooting and Expert Tips
- Soggy Coating? Make sure the chicken is patted lightly dry after marinating to avoid too much moisture diluting the crust.
- Uneven Cooking? Use bone-in pieces and allow space between them on the baking dish for proper heat circulation.
- Too Dry? Do not overbake. Use a meat thermometer to check doneness precisely.
- More Flavor? Add herbs like thyme or rosemary to the marinade or coating.
- Extra Crunch? Use panko breadcrumbs, or double coat the chicken as described.
Nutritional Information (Approximate per Serving)
- Calories: 380 kcal
- Protein: 28g
- Fat: 18g
- Carbohydrates: 22g
- Fiber: 1g
- Sugar: 2g
- Sodium: 620mg
Note: Nutritional values may vary based on ingredient brands and portion sizes.
Variations to Explore
Gluten-Free Option
Use gluten-free flour blends and gluten-free panko or crushed rice cereal for coating.
Spicy Kick
Increase cayenne pepper or add hot sauce to the marinade for heat lovers.
Low-Carb Alternative
Skip the flour and use crushed pork rinds mixed with spices for the coating.
Different Proteins
Try the method on turkey thighs or boneless chicken breasts, adjusting baking times accordingly.
Serving Suggestions and Pairings
Buttermilk Oven Fried Chicken pairs well with classic Southern sides, such as:
- Creamy mashed potatoes or garlic mashed cauliflower.
- Tangy coleslaw for freshness and crunch.
- Macaroni and cheese for indulgent comfort.
- Roasted vegetables or a crisp green salad for balance.
- Cornbread or biscuits to soak up any juices.
Storage and Reheating Tips
- Refrigerate: Store leftovers in an airtight container for up to 4 days.
- Freeze: Wrap chicken individually and freeze for up to 2 months.
- Reheat: For best texture, reheat in the oven at 350°F (175°C) for 10–15 minutes until crispy. Avoid microwaving to prevent sogginess.
Frequently Asked Questions (FAQs)
Q1: Can I use boneless chicken for this recipe?
A: Yes, but reduce baking time to 25-30 minutes to avoid drying out the meat.
Q2: What is a quick substitute for buttermilk?
A: Mix 1 tablespoon of lemon juice or vinegar into 1 cup of milk, let sit 5-10 minutes until curdled.
Q3: How do I make the coating extra crispy?
A: Double coat the chicken by dipping twice in buttermilk and coating mixture or use panko breadcrumbs for a lighter crunch.
Q4: Is this recipe kid-friendly?
A: Yes! Simply omit cayenne pepper or any spicy elements for a milder taste.
Q5: Can I prepare this recipe ahead of time?
A: Absolutely! Marinate the chicken overnight and coat just before baking.
Final Thoughts
Buttermilk Oven Fried Chicken offers all the flavor, crunch, and comfort of classic fried chicken with a healthier, more convenient twist. By mastering this recipe, you can enjoy a satisfying meal that pleases the whole family while avoiding excess oil and cleanup. With flexibility to adapt to dietary needs and plenty of room for experimentation, this dish is a timeless addition to any cook’s repertoire.