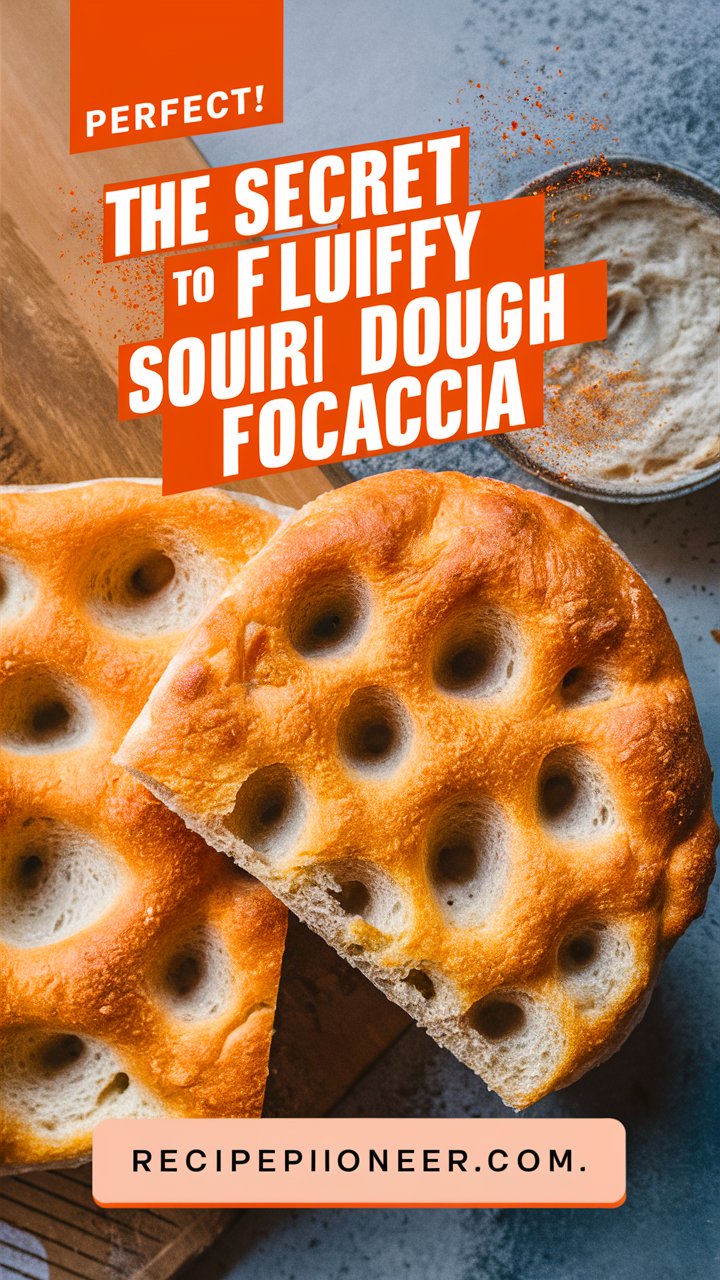
Light and Fluffy Sourdough Focaccia Recipe: Bake Like a Pro at Home 2025
Few bread recipes evoke as much sensory delight as a well-made focaccia. The golden, crisp exterior, the aromatic herbs, the light, fluffy crumb—every bite is a rustic masterpiece. Add the magic of sourdough, and you have something truly extraordinary.
Sourdough focaccia isn’t just a bread; it’s a reflection of slow-food philosophy. It transforms humble ingredients into a culinary experience through the natural fermentation of wild yeast. Unlike its yeasted cousin, sourdough focaccia boasts deeper flavor, improved digestibility, and a pleasantly chewy texture that elevates it from mere side dish to centerpiece.
Whether you’re new to sourdough baking or a seasoned starter whisperer, this complete guide offers everything you need to master the perfect light and fluffy sourdough focaccia—from ingredients to technique to troubleshooting. This article is long for a reason: to walk you through each detail with the care of a professional baker guiding a friend.
Why Bake Sourdough Focaccia at Home?
Baking sourdough focaccia from scratch isn’t just about the final product—it’s about the journey. Here’s why it’s worth every minute:
- Flavor Depth: Natural fermentation brings out rich, slightly tangy flavors that commercial yeast can’t replicate.
- Better Digestibility: The long ferment breaks down gluten and phytic acid, making it easier on the stomach.
- Crispy Crust, Pillowy Crumb: The high hydration dough creates a beautiful contrast between a soft interior and a golden exterior.
- Customizable Toppings: From rosemary to roasted garlic to olives, you can adapt it to any flavor profile.
- Creative Therapy: Stretching, folding, dimpling—it’s hands-on, meditative, and deeply satisfying.
Ingredients Breakdown: What You’ll Need
Let’s explore the science and role of each ingredient:
| Ingredient | Quantity | Function |
|---|---|---|
| All-purpose or Bread Flour | 500g (4 cups) | Structure, gluten development |
| Active Sourdough Starter | 100g (½ cup) | Natural leavening, flavor |
| Water | 400g (1⅔ cups) | Hydration, gluten development |
| Fine Sea Salt | 10g (2 tsp) | Enhances flavor, regulates fermentation |
| Olive Oil | 30g + extra | Adds richness, prevents sticking |
| Optional Toppings | As desired | Adds flavor and visual appeal |
Step-by-Step Method: Artisan Technique for Success
Step 1: Autolyse (Initial Mix)
Mix flour, water, and active sourdough starter in a large bowl. No need to knead yet—just combine until all dry flour is absorbed. Cover and let it rest for 30–45 minutes.
Why Autolyse?
It jumpstarts gluten formation, improves dough extensibility, and makes the dough easier to work with.
Step 2: Add Salt and Olive Oil
Add fine sea salt and 30g olive oil to the rested dough. Use your fingers to pinch, fold, and knead until the ingredients are well combined and the dough looks shiny and smoother.
Pro Tip: Don’t rush this stage. Gently integrating oil and salt ensures even fermentation and texture.
Step 3: Stretch and Folds
Perform 3–4 sets of stretch-and-folds over a 2-hour period, every 30 minutes. To do this:
- Wet your hands.
- Grab one edge of the dough.
- Stretch it up and fold it over itself.
- Rotate the bowl and repeat on all sides.
This step replaces kneading and develops gluten while maintaining dough integrity.
Step 4: Bulk Fermentation
Let the dough rest, covered, at room temperature (21–24°C or 70–75°F) for 4–6 hours, until it’s airy, bubbly, and expanded by about 50%.
What to Look For:
- Tiny bubbles on the surface.
- A jiggly, domed dough.
- Slight increase in volume.
Step 5: Cold Proofing (Overnight in Fridge)
Transfer the dough into a well-oiled 9×13” baking pan. Gently stretch it to fill the pan without tearing. Cover and refrigerate overnight (or up to 18 hours).
Why Cold Ferment?
This slow proof adds exceptional flavor and gives the gluten time to relax, making the final bread more tender and aromatic.
Step 6: Final Rise and Dimpling
Remove the dough from the fridge and allow it to rest at room temperature for 1–2 hours. Once it’s visibly puffy, drizzle olive oil on top and use oiled fingers to gently dimple the surface. Press all the way down without deflating.
Top It Off: Add your favorite toppings like:
- Fresh rosemary
- Garlic confit
- Cherry tomatoes
- Sea salt flakes
- Olives or caramelized onions
Step 7: Baking
Preheat your oven to 230°C (450°F). Bake the focaccia for 20–25 minutes until the crust is deep golden brown. Rotate the pan halfway through to ensure even baking.
Optional: Bake the last 5 minutes with convection fan for a crispier crust.
Step 8: Cooling and Serving
Let it rest in the pan for 5–10 minutes before transferring to a wire rack. Slice and serve warm, or let it cool completely for sandwiches.
Storage and Serving Tips
- Short-Term: Wrap in foil and store at room temperature for up to 2 days.
- Long-Term: Freeze slices in a zip bag and reheat in a toaster oven.
- Serving Ideas:
- With soups or salads.
- Sliced horizontally for paninis.
- Cubed as croutons for Caesar salad.
- Topped with burrata and roasted tomatoes for a light lunch.
Flavor Variations to Try
Unleash your creativity with these custom focaccia ideas:
- Mediterranean: Sun-dried tomatoes, Kalamata olives, oregano.
- Italian Herb Blend: Basil, parsley, garlic-infused oil.
- Cheesy Delight: Mozzarella, Parmesan, crushed chili flakes.
- Sweet-Savory: Red grapes, thyme, honey drizzle.
- Smoky: Roasted red peppers and smoked paprika.
Sourdough Starter FAQ
What is 100% Hydration Starter?
It means equal parts flour and water by weight. It’s the standard for most sourdough recipes and offers reliable rise and flavor.
How to Know If My Starter is Ready?
- Doubles in size within 4–6 hours after feeding.
- Has a mild tangy aroma, not sour or funky.
- Passes the “float test” (a spoonful floats in water).
Frequently Asked Questions
Can I Skip the Overnight Proof?
Yes, but it compromises flavor. If needed, allow a longer bulk ferment (8–10 hours) at room temp.
Why Is My Dough So Sticky?
High hydration = stickiness. Use wet hands, a bench scraper, and avoid adding extra flour.
My Focaccia Is Too Flat. What Went Wrong?
Possible causes:
- Starter was weak or underfed.
- Bulk fermentation was too short.
- Dough was torn or deflated before baking.
Can I Make It Gluten-Free?
Yes, with a special gluten-free sourdough starter and flour mix. Texture will vary but is still delicious.
Troubleshooting Guide
| Problem | Cause | Fix |
|---|---|---|
| Dense crumb | Underproofed, weak starter | Extend fermentation time, feed starter regularly |
| Pale crust | Oven not hot enough, not enough oil | Preheat properly, use more olive oil |
| Soggy base | Underbaked, too much topping | Bake longer, reduce topping moisture |
| Tough crust | Overbaked | Shorten baking time slightly |
| Dry bread | Improper storage | Wrap tightly, store in sealed bag |
Nutritional Information (Per Slice, 1 of 12)
- Calories: 180
- Fat: 6g
- Carbohydrates: 27g
- Protein: 4g
- Sodium: 280mg
- Sugar: 0g
- Fiber: 1g
Note: Values may vary based on toppings used.
Conclusion: Elevate Everyday Meals with Sourdough Focaccia
This light and fluffy sourdough focaccia is more than just a bread—it’s a symbol of care, patience, and culinary joy. Whether you bake it to accompany a cozy dinner, impress guests at a gathering, or enjoy a warm bite on a quiet afternoon, it delivers rustic charm and gourmet flair with every slice.
Investing time into sourdough baking rewards you with unmatched flavor, better nutrition, and an irreplaceable sense of achievement. Master this recipe, and you’ll always have a versatile, artisan loaf ready to elevate any meal.


