How to Make the Perfect Strawberry Cheesecake Dump Cake at Home 2025
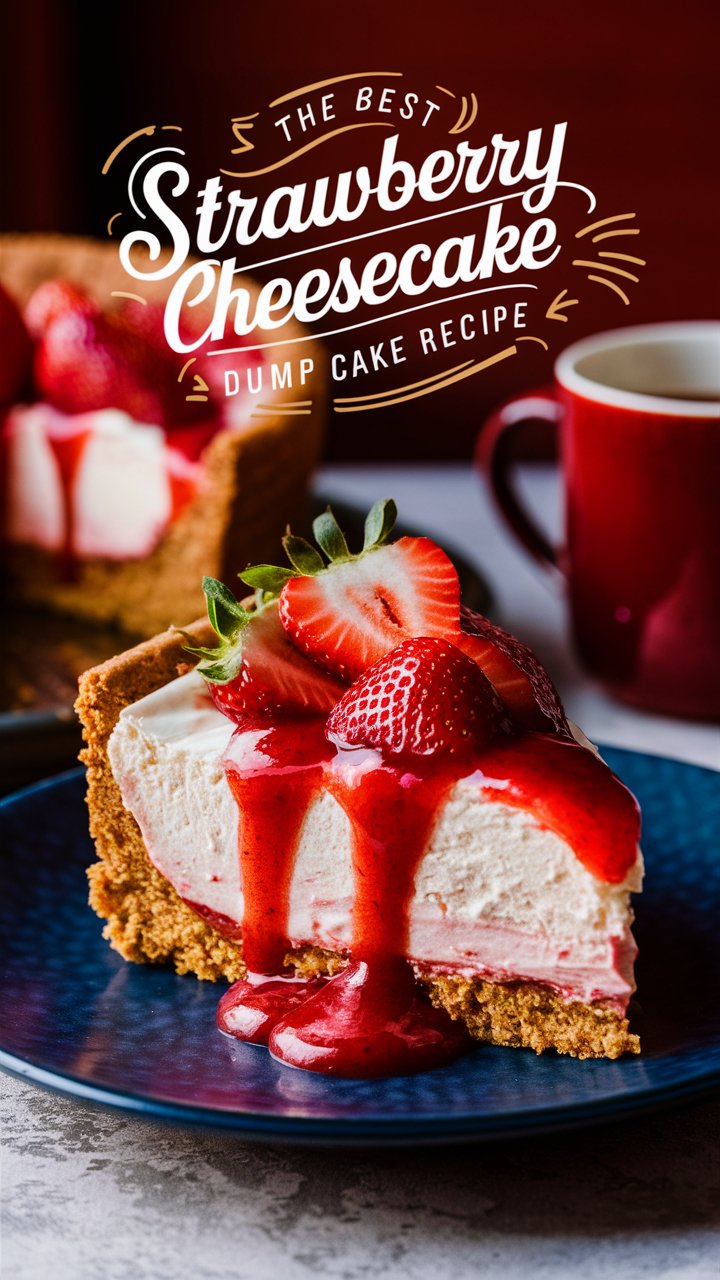
If you’re searching for a dessert that combines the irresistible richness of cheesecake with the simplicity of a classic dump cake, look no further than the Strawberry Cheesecake Dump Cake. This dessert is a perfect harmony of creamy, fruity, and buttery flavors, offering a delightful experience in every bite. Whether you’re hosting a family gathering, planning a casual potluck, or simply craving a quick homemade sweet treat, this dump cake hits the spot.
The beauty of this recipe lies in its ease — no need for complicated baking techniques, special equipment, or hours in the kitchen. With just a few simple ingredients and one baking dish, you can create a crowd-pleaser that tastes like it took hours to prepare. From the juicy strawberry filling to the creamy cheesecake layer and the golden, buttery cake topping, this dessert brings comfort and elegance together effortlessly.
In this article, we’ll explore everything you need to know to make the perfect Strawberry Cheesecake Dump Cake — from detailed instructions and ingredient tips to creative variations and answers to common questions. Let’s dive into the delicious world of dump cakes!
What is a Dump Cake?
Before we jump into the recipe, it’s helpful to understand what a dump cake actually is. Unlike traditional cakes that require mixing and layering, a dump cake is a simple, “dump and bake” dessert where ingredients are literally dumped into a pan and baked without much fuss.
Typically, dump cakes start with canned fruit or pie filling, topped with dry cake mix and then drizzled with butter. As it bakes, the butter melts and soaks into the cake mix, creating a moist, tender crumb with a crispy top. The result is a rustic, homey dessert that’s easy to make yet incredibly satisfying.
In this Strawberry Cheesecake Dump Cake, we add a luscious cheesecake layer in the middle, elevating the classic dump cake to a more indulgent level.
Ingredients Overview
For this recipe, simplicity and quality ingredients are key to achieving the perfect balance of flavors and textures.
Essential Ingredients
- Yellow Cake Mix: The dry cake mix forms the golden, crumbly topping that contrasts beautifully with the creamy filling.
- Strawberry Pie Filling: Provides the juicy, fruity base. The canned version ensures consistent sweetness and texture.
- Cream Cheese: The star of the cheesecake layer, lending richness and creaminess.
- Granulated Sugar: Sweetens the cheesecake mixture.
- Vanilla Extract: Adds depth of flavor.
- Unsalted Butter: Melted and drizzled over the cake mix to create a tender, buttery crust.
Optional Garnishes
- Fresh strawberries for a vibrant finish.
- Whipped cream or powdered sugar for extra decadence.
Step-by-Step Instructions
Step 1: Preheat and Prepare Your Baking Dish
Set your oven to 350°F (175°C). Grease a 9×13-inch baking dish lightly with butter or non-stick spray to ensure easy serving and cleanup.
Step 2: Layer the Strawberry Filling
Open two 21-ounce cans of strawberry pie filling and spread it evenly across the bottom of your prepared dish. This juicy base will become the vibrant fruity layer.
Step 3: Prepare the Cheesecake Layer
In a medium bowl, use an electric mixer or a sturdy whisk to beat together the softened 8-ounce package of cream cheese, ½ cup granulated sugar, and 1 teaspoon of vanilla extract until smooth and creamy. Avoid overmixing to keep a luscious texture.
Use a spoon or small ice cream scoop to drop dollops of the cheesecake mixture evenly over the strawberry filling. Don’t worry about perfection—lightly swirl the dollops with a spatula or knife for a marbled effect.
Step 4: Add the Cake Mix
Sprinkle one full box of dry yellow cake mix evenly over the entire surface. Do not mix or press down; the cake mix stays dry on top.
Step 5: Drizzle Melted Butter
Melt ½ cup of unsalted butter and drizzle it gently over the cake mix. Try to cover as much surface area as possible. The butter helps the cake mix transform into a golden crust as it bakes.
Step 6: Bake to Perfection
Place your baking dish on the center rack of the preheated oven. Bake for 40 to 45 minutes until the topping turns golden brown and you see bubbling around the edges. The filling should be hot and gooey.
Step 7: Cool and Serve
Allow the dump cake to cool for at least 15 minutes before serving. This helps the layers set and makes slicing easier. For an extra touch, garnish with fresh strawberries or a dusting of powdered sugar.
Tips for Success
- Cream Cheese Temperature: Make sure the cream cheese is softened at room temperature for smooth mixing.
- Butter Drizzling: Drizzle the butter slowly and evenly to avoid dry patches on top.
- Don’t Stir: Resist the urge to mix once the cake mix is added — the magic happens during baking.
- Oven Temperature: Use an oven thermometer if possible to ensure your oven is accurate.
- Serving Suggestions: This dessert pairs wonderfully with vanilla ice cream or whipped cream.
Nutritional Information (Per Serving)
Approximate values based on 12 servings:
- Calories: 320 kcal
- Fat: 15 g
- Saturated Fat: 9 g
- Carbohydrates: 40 g
- Sugars: 30 g
- Protein: 4 g
Variations to Try
- Berry Mix: Substitute strawberry pie filling with blueberry or mixed berry for a different fruity twist.
- Cake Mix Flavor: Use vanilla or white cake mix for a lighter topping, or spice cake mix for a warm flavor.
- Dairy-Free: Use dairy-free cream cheese and butter substitutes to make it vegan-friendly.
- Add Nuts: Sprinkle chopped pecans or walnuts on top for crunch.
- Chocolate Drizzle: After baking, drizzle melted white or dark chocolate for extra indulgence.
Frequently Asked Questions (FAQs)
Can I use fresh strawberries instead of canned pie filling?
Yes! However, fresh strawberries release more juice and won’t have the thickened consistency of canned pie filling. You’ll need to cook fresh strawberries with sugar and a thickener like cornstarch to mimic pie filling texture.
Can I prepare this dessert ahead of time?
Absolutely. Assemble it a day before baking and refrigerate. Bake when ready, adding extra baking time if going directly from fridge to oven.
Will the cake mix bake properly without mixing?
Yes, the butter and fruit juices penetrate the dry cake mix during baking, creating a moist, tender crust with a crispy top.
How do I store leftovers?
Cover leftovers tightly and refrigerate for up to 3 days. Reheat gently in the microwave or oven before serving.
Why This Strawberry Cheesecake Dump Cake is a Must-Try
This recipe stands out because it combines the best of two desserts in one simple bake. It’s quick to make but delivers flavors and textures that feel indulgent and homemade. No need for fancy kitchen gadgets or complicated techniques. Plus, its forgiving nature allows room for creativity and adaptation, making it perfect for bakers of all skill levels.
Conclusion
The Strawberry Cheesecake Dump Cake is the perfect dessert for anyone who loves a blend of fruity freshness and creamy richness with minimal effort. With its inviting layers of sweet strawberries, velvety cheesecake, and buttery cake topping, it’s a guaranteed crowd-pleaser for any occasion.
Whether you serve it warm right from the oven or chilled as a refreshing treat, this dump cake offers endless comfort and delight. So gather your ingredients, preheat that oven, and treat yourself to this simple yet luxurious dessert!