How to Make Quick and Easy Strawberry Jam at Home 2025
Strawberry jam is a classic favorite that evokes memories of summer mornings, cozy breakfasts, and homemade goodness. Making your own strawberry jam at home doesn’t have to be complicated or time-consuming. With fresh or frozen strawberries, a handful of simple ingredients, and easy-to-follow steps, you can create a vibrant, flavorful jam that elevates your toast, yogurt, desserts, and even savory dishes.
This comprehensive guide walks you through everything you need to know about making quick and easy strawberry jam—from selecting the best berries and mastering the perfect cooking technique to storing your jam safely and exploring exciting flavor variations. Whether you’re a beginner or a seasoned home cook, this recipe will become your go-to for a delicious, natural spread packed with the taste of real fruit.
Why Make Strawberry Jam at Home?
There’s nothing quite like the fresh, bright flavor of homemade strawberry jam. Store-bought jams often contain preservatives, artificial sweeteners, and additives that can mask the true taste of the fruit. By making jam yourself, you control the ingredients and sweetness, ensuring a natural product with a rich, authentic strawberry flavor.
Benefits include:
- No preservatives or artificial ingredients: Pure fruit and natural sugar.
- Customizable sweetness and texture: Adjust sugar levels and chunkiness.
- Cost-effective: Make a large batch for less than premium store jams.
- Great gift idea: Homemade jam is thoughtful and personal.
- Fun kitchen project: Simple, rewarding cooking for all skill levels.
Ingredients: What You’ll Need for the Perfect Strawberry Jam
The beauty of this recipe lies in its simplicity. Each ingredient plays a crucial role:
- Fresh or frozen strawberries (about 2 cups): Choose ripe, fragrant berries for the best flavor. Frozen works well if fresh are out of season.
- Granulated sugar (1 cup): Balances the tartness and acts as a natural preservative.
- Fresh lemon juice (1 tablespoon): Adds brightness, helps set the jam, and preserves color.
- Lemon zest (optional, 1 teaspoon): Enhances aroma and adds a subtle citrus note.
- Salt (1/4 teaspoon): Amplifies the natural sweetness and balances flavors.
Pro Tips:
- Selecting Strawberries: Look for bright red, firm berries free from bruises or mold.
- Organic vs Conventional: Organic berries may be preferred to avoid pesticides in jam.
- Frozen Strawberries: Thaw fully and drain excess liquid to avoid watery jam.
Equipment You’ll Need
- Medium saucepan with a heavy bottom
- Wooden spoon or heat-resistant spatula
- Potato masher or fork
- Clean glass jars or airtight containers for storage
- Ladle or funnel (optional for jar filling)
Step-by-Step Instructions for Quick and Easy Strawberry Jam
Step 1: Prepare the Strawberries
Rinse strawberries under cold water, removing any stems or leaves. If large, cut into halves or quarters to ensure even cooking. For frozen berries, thaw completely and drain excess juice to prevent a runny final product.
Lightly mash the strawberries using a potato masher or fork. Mashing releases the natural juices and helps the jam thicken faster.
Step 2: Combine Ingredients
Transfer the mashed strawberries to your saucepan. Add granulated sugar, lemon juice, lemon zest (if using), and salt. Stir gently until the sugar coats the berries evenly and the mixture looks glossy.
Step 3: Cook the Jam
Place the saucepan over medium heat and bring the mixture to a gentle boil. Stir frequently to prevent the fruit from sticking to the bottom and burning. As the jam cooks, the strawberries will break down further, releasing pectin naturally found in the fruit.
Maintain a steady simmer for 15 to 20 minutes, allowing the mixture to thicken. The jam will bubble and reduce, concentrating the flavors.
Step 4: Check the Jam Consistency
To test readiness, place a small spoonful of jam on a chilled plate (freeze a plate for 10 minutes beforehand). Let it cool for a minute, then run your finger through the jam. If it wrinkles and the path stays clear, your jam is perfectly set.
If it’s still runny, continue simmering for another 2 to 3 minutes and test again.
Step 5: Cool and Store
Remove the pan from heat. Allow the jam to cool for about 10-15 minutes before transferring to clean sterilized glass jars or airtight containers.
Seal tightly and refrigerate. Your jam will continue to thicken as it cools and should keep fresh in the fridge for up to three weeks.
How to Store Strawberry Jam Safely
Proper storage ensures your jam stays fresh and safe to eat.
- Refrigeration: Store in airtight jars for up to 3 weeks.
- Freezing: Fill containers leaving 1/2 inch space for expansion. Freeze for up to 3 months.
- Canning (Optional): For longer shelf life, process jars in a water bath canner for 10 minutes (adjust for altitude). This step is optional for this quick jam.
Sterilizing Jars: Boil jars and lids in hot water for 10 minutes before filling to kill bacteria.
Troubleshooting Common Jam Problems
- Jam too runny: Cook longer, test with the plate method until jam thickens.
- Jam too thick or crystallized: Store jam at room temperature briefly before use, or gently warm.
- Burning or sticking: Stir constantly, use a heavy-bottomed pan, and moderate heat.
- Foam on top: Skim off foam with a spoon for clearer jam.
Delicious Variations to Try
- Mixed Berry Jam: Add raspberries or blueberries for a tangy twist.
- Spiced Strawberry Jam: Add a pinch of cinnamon or ginger during cooking.
- Herbal Infused Jam: Stir in fresh basil or mint leaves for a fresh flavor.
- Reduced Sugar Jam: Use 3/4 cup sugar and add natural sweeteners like honey or maple syrup.
Nutritional Benefits of Strawberry Jam
While strawberry jam is sweet, it provides:
- Antioxidants from strawberries that support health.
- Vitamin C boosts immunity.
- Fiber aids digestion (though jam contains less than whole fruit).
- Portion control helps enjoy the flavor without excess sugar.
Frequently Asked Questions (FAQs)
Can I use frozen strawberries?
Yes! Frozen strawberries are a great alternative and work well if thawed and drained before cooking.
Do I need pectin?
No, fresh strawberries contain enough natural pectin, especially combined with lemon juice and sugar.
How do I know when the jam is ready?
Use the chilled plate test—if the jam wrinkles when pushed, it’s set.
Can I double the recipe?
Yes, but increase cooking time slightly and stir frequently to prevent burning.
Is it safe to can this jam?
Yes, but follow standard water bath canning procedures to ensure safety.
How to Use Your Homemade Strawberry Jam
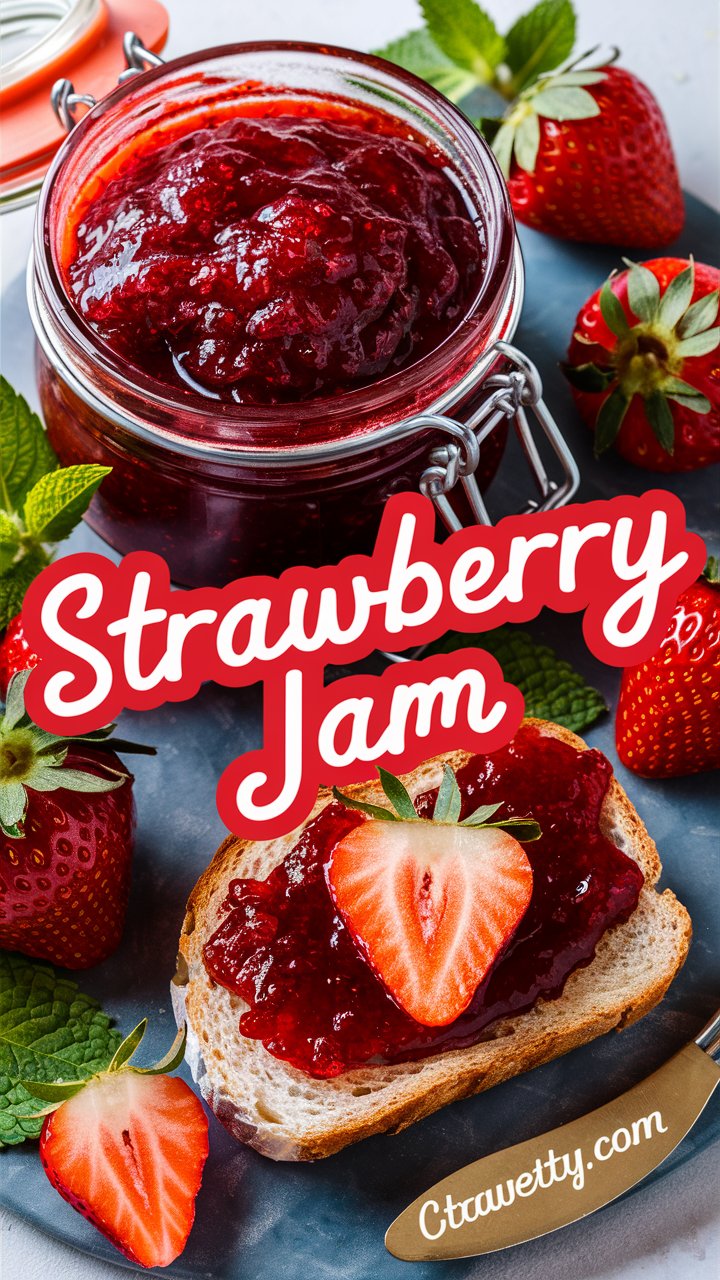
- Spread on warm toast or freshly baked scones.
- Swirl into yogurt or oatmeal for a fruity boost.
- Use as a topping for ice cream or pancakes.
- Mix into smoothies or salad dressings.
- Add to savory dishes like glazed meats for a sweet contrast.
Conclusion: Why You’ll Love This Quick and Easy Strawberry Jam Recipe
This homemade strawberry jam offers fresh, vibrant flavor with minimal effort and ingredients. Perfect for beginners and busy cooks, it’s versatile, healthy, and customizable. Whether you’re spreading it on your morning toast or gifting it to loved ones, this recipe delivers sweetness and satisfaction every time.
Final Tips for Best Results
- Use ripe, fresh strawberries for the best taste.
- Stir often to prevent burning.
- Don’t rush the cooking process; thickening takes time.
- Store jars properly and label with dates.
- Experiment with flavors once comfortable with the base recipe.