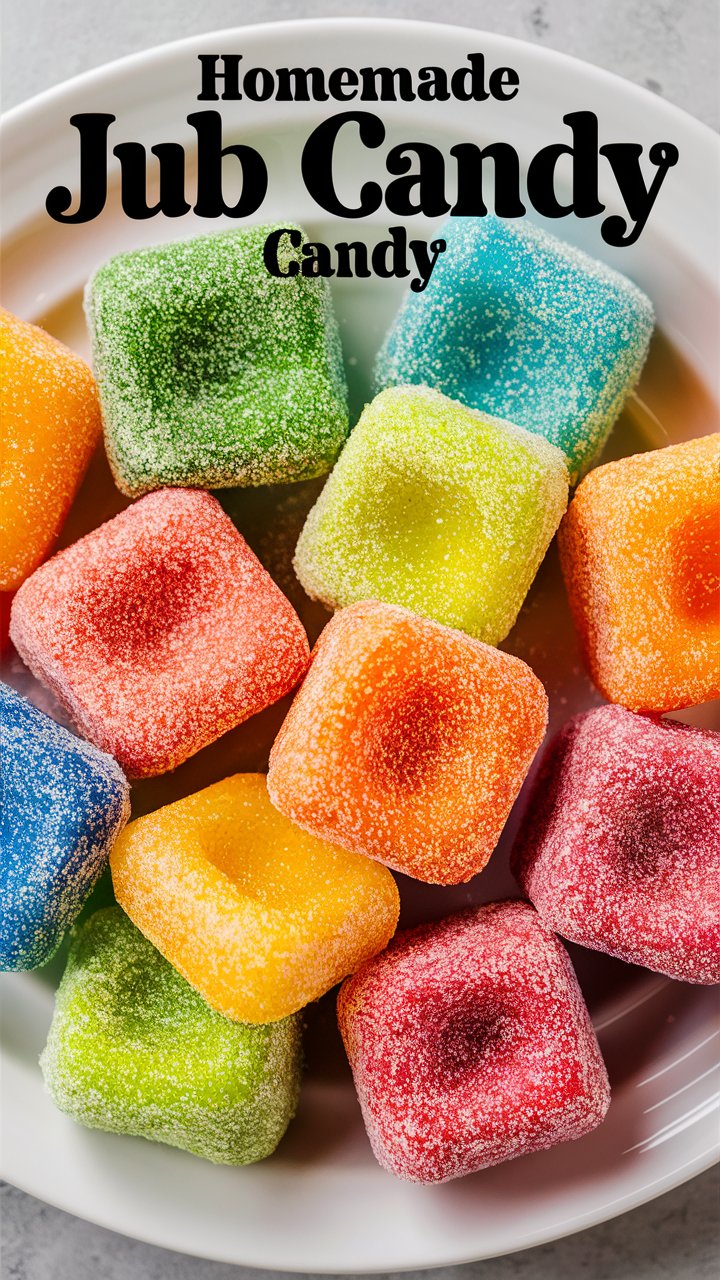
How to Make Perfect Divinity Candy at Home (Step-by-Step Guide) 2025
Few confections can match the nostalgic charm, delicate texture, and melt-in-your-mouth sweetness of homemade divinity candy. With its pillowy, cloud-like appearance and rich, sugary taste, this old-fashioned treat has been a staple in Southern kitchens for generations. Traditionally prepared during festive seasons, it is a symbol of celebration, warmth, and the magic of homemade goodness.
In this comprehensive guide, we’ll take you step by step through everything you need to know to master this classic candy. Whether you’re an experienced home cook or venturing into the art of candy-making for the first time, this guide will help you create flawless divinity every time. We’ll explore its history, essential ingredients, expert techniques, troubleshooting tips, and creative flavor variations. By the end, you’ll not only have a recipe but also the confidence and know-how to create this vintage masterpiece with ease.
1. Introduction to Divinity Candy
Divinity candy is a soft, fluffy, and sweet confection known for its pristine white appearance and signature swirled peaks. Its light yet satisfying texture is achieved through the careful cooking of sugar syrup and whipping of egg whites to create a mixture that’s airy and smooth, yet firm enough to hold its shape.
The name “divinity” itself hints at its heavenly taste and texture. Often described as tasting like a cross between marshmallows and nougat, divinity has an ethereal quality that makes it stand out from other candies.
While traditionally associated with holidays such as Christmas and Easter, divinity is a year-round delight that can be customized with various flavors, colors, and toppings. It’s a candy that brings back memories of childhood kitchens, family gatherings, and cheerful baking sessions.
2. The Sweet History Behind Divinity
Divinity candy has its roots in the American South, where it became a staple of holiday baking in the early 20th century. Although its exact origins are unclear, it’s widely believed to have emerged in the 1900s, during a time when home cooks were experimenting with sugar-based confections.
The name “divinity” likely came from the reaction many had upon tasting it — “It’s divine!” This phrase perfectly captures the candy’s appeal.
In Southern households, divinity candy became synonymous with hospitality and celebration. It was often made in large batches during the winter, when dry air provided the ideal conditions for setting the candy properly. Grandmothers, aunts, and mothers passed down family recipes, each with its own unique twist, such as adding chopped pecans, peppermint, or even a hint of almond extract.
Today, divinity remains a treasured tradition, celebrated not only for its taste but also for the memories it evokes.
3. Key Ingredients for Homemade Divinity Candy
Although divinity may seem like a complex confection, it requires only a handful of basic ingredients:
✔️ Granulated Sugar
Sugar is the heart of this candy, providing sweetness and structure. Fine granulated sugar works best for smooth results.
✔️ Light Corn Syrup
Corn syrup prevents the sugar from crystallizing during cooking, ensuring a smooth, glossy finish.
✔️ Water
Water helps dissolve the sugar, allowing it to cook evenly into a syrup.
✔️ Egg Whites
Egg whites are beaten until stiff to provide the fluffy, airy texture that defines divinity.
✔️ Vanilla Extract
Vanilla adds a subtle depth of flavor that complements the sweetness beautifully.
✔️ Optional Add-ins
- Pecans: Classic Southern addition for crunch and flavor.
- Peppermint Candies: Crushed for a festive twist.
- Food Coloring: To create tinted or pastel-colored divinity.
✔️ Salt
A tiny pinch of salt balances the sweetness and enhances overall flavor.
4. Tools and Equipment You’ll Need
To successfully make divinity candy, the right tools are just as important as the ingredients:
- Candy Thermometer: Essential for precise temperature control.
- Heavy-Bottomed Saucepan: Ensures even heat distribution.
- Stand Mixer or Hand Mixer: For whipping egg whites and beating the candy mixture.
- Mixing Bowls: Preferably heatproof and large enough for mixing.
- Parchment or Wax Paper: For setting the candy.
- Spoons or Cookie Scoops: For portioning the candy.
- Cooling Racks or Baking Sheets: To allow the candy to set.
5. Step-by-Step Recipe: Classic Divinity Candy
Here’s a detailed recipe for making perfect homemade divinity candy.
Ingredients:
- 2 ½ cups granulated sugar
- ½ cup light corn syrup
- ½ cup water
- 2 large egg whites, room temperature
- 1 teaspoon pure vanilla extract
- ½ cup chopped pecans or crushed peppermint (optional)
- Pinch of salt
- Food coloring (optional)
Instructions:
Step 1: Prep Your Workspace
- Line a baking sheet with parchment paper.
- Set out two spoons or a cookie scoop for shaping the candy.
- If using nuts or peppermint, chop or crush them and set aside.
Step 2: Cook the Sugar Syrup
- In a medium saucepan, combine the sugar, corn syrup, and water.
- Stir gently over medium heat until the sugar dissolves completely.
- Attach a candy thermometer and heat without stirring until the mixture reaches 260°F (hard-ball stage).
Step 3: Beat the Egg Whites
- While the syrup is cooking, beat the egg whites with a pinch of salt until stiff peaks form.
- The egg whites should be firm enough to hold their shape.
Step 4: Combine Syrup and Egg Whites
- Once the syrup reaches the target temperature, slowly pour it into the beaten egg whites while mixing at medium speed.
- Pour in a thin, steady stream to avoid cooking the eggs.
Step 5: Beat Until Thick and Glossy
- After all the syrup is added, increase the mixer speed to high.
- Continue beating for 8-10 minutes until the mixture becomes thick, glossy, and begins to lose its shine.
- Beat in vanilla extract and food coloring (if desired).
- Fold in pecans or peppermint at this stage, if using.
Step 6: Shape the Candy
- Working quickly, use spoons to drop small mounds of candy onto the prepared baking sheet.
- Let the candy sit at room temperature for several hours to set.
Pro Tip: Avoid making divinity on humid days. High humidity prevents proper setting and causes stickiness.
6. Tips for Perfect Divinity Every Time
- Measure Precisely: Candy-making is a science. Use exact measurements.
- Control Humidity: Make divinity only on dry days.
- Use Room Temperature Egg Whites: They whip better than cold ones.
- Avoid Overmixing: Stop beating once the candy loses its gloss and thickens.
- Work Quickly: The candy sets fast, so shape it immediately after mixing.
7. Common Mistakes and How to Fix Them
| Problem | Cause | Solution |
|---|---|---|
| Candy didn’t set | Syrup not cooked to correct temperature or overmixed | Always use a thermometer; beat until thick, not runny |
| Candy is too sticky | High humidity or undercooked syrup | Try again on a dry day and cook syrup to exactly 260°F |
| Grainy texture | Sugar crystallized during cooking | Avoid stirring once boiling; use clean utensils |
| Syrup hardened before mixing | Took too long to combine syrup and egg whites | Prep everything in advance and act quickly |
| Candy too hard | Overcooked syrup or overbeaten mixture | Monitor temperature closely and stop mixing on time |
8. Flavor Variations and Creative Twists
🎨 Flavored Divinity Ideas:
- Almond Divinity: Replace vanilla with almond extract for a nutty note.
- Coconut Divinity: Stir in shredded coconut before shaping.
- Citrus Divinity: Add lemon or orange zest for a refreshing burst.
- Chocolate Swirl: Gently fold in melted chocolate for a marbled look.
🌈 Colorful Variations:
- Pastel shades for Easter.
- Red and green for Christmas.
- Ombre effect using varying shades.
🍬 Add-Ins:
- Chopped dried fruit (cranberries, apricots).
- Mini chocolate chips.
- Crushed candy canes during the holidays.
9. Serving and Presentation Ideas
- Arrange divinity candy on decorative platters for dessert tables.
- Package in clear cellophane bags tied with ribbons for gifts.
- Stack in vintage tins for an old-fashioned presentation.
- Pair with hot tea or coffee for a sweet afternoon treat.
10. Storage Guidelines for Longevity
- Room Temperature: Store in airtight containers for up to two weeks.
- Layering: Use parchment or wax paper between layers to prevent sticking.
- Avoid Refrigeration: Moisture ruins texture.
- Dry Climate: Best results in dry, cool storage areas.
11. Frequently Asked Questions About Divinity Candy
Can I make divinity without corn syrup?
Yes, but it requires substitutions such as honey or maple syrup, though results may vary.
Can divinity be frozen?
Freezing is not recommended, as it affects texture.
Why is my divinity grainy?
Usually from sugar crystallization; avoid stirring after boiling and use clean utensils.
How do I know when to stop mixing?
When the candy is thick, glossy, and starts losing its shine slightly.
12. The Joy of Homemade Candy: Why It’s Worth Making Divinity
Homemade divinity candy is more than just a sweet treat — it’s a celebration of tradition, craftsmanship, and personal creativity. Making candy from scratch allows you to control every ingredient, ensuring the freshest taste and highest quality.
The process may seem intimidating at first, but with a little patience and practice, you’ll soon discover the joy of watching simple ingredients transform into a magical confection.
Plus, there’s something truly special about sharing a homemade gift with loved ones — a treat that carries both flavor and fond memories.
13. Conclusion: A Timeless Treat for All Seasons
Divinity candy has earned its place as a beloved dessert in kitchens across generations. From its velvety, cloud-like texture to its sugary-sweet flavor, this classic candy remains a favorite for holidays, celebrations, and everyday indulgences alike.
Whether you stick to the traditional recipe or explore modern variations, making divinity at home offers a rewarding experience that’s both delicious and deeply nostalgic. With this guide, you now have all the tools, tips, and tricks to create flawless, mouthwatering divinity candy — every single time.


